Server Actions in Next.js 14 - Enhance Your Applications

Server Actions, introduced in the latest version of Next.js, are a powerful tool for handling form submissions and data mutations on the server-side.
They can be used in both server and client components, offering greater flexibility and control over your application's behavior.
What Are Server Actions?

Server Actions are asynchronous functions that execute on the server. They provide a way to perform server-side operations in response to user interactions or events within your Next.js application.
These operations can encompass tasks like:
- Fetching data from databases or APIs
- Updating data on the server
- Validating user input
- Triggering background processes
Security Considerations
Even though server actions provide a convenient way to perform server-side operations from your Next.js application, it's important to consider security implications:
-
Action Validation:
Always validate user input and arguments within server actions to prevent unauthorized access or malicious code injection. This can involve using type checking and data sanitization techniques.
-
CSRF Protection:
Next.js 14 offers built-in CSRF protection for server actions. However, for custom route handlers (route.tsx), you'll need to implement CSRF protection manually. This typically involves using CSRF tokens included in form submissions.
-
Error Handling:
In production mode, React hides specific error messages to protect sensitive information. When debugging, be mindful of the potential exposure of sensitive data in error messages. Consider using logging or dedicated error reporting tools to capture errors without revealing sensitive details to the client.
By carefully considering these security measures, you can leverage the power of server actions in Next.js 14 while maintaining a secure application.
How to Use Server Actions
Server actions can be defined using the React "use server" directive. This directive can be placed at the top of an asynchronous function to mark it as a server action or at the top of a separate file to designate all exports of that file as server actions.
There are two main ways to use server actions in Next.js:
Server Components
Server components can leverage the inline function-level or module-level "use server" directive.
To inline a server action, add "use server" to the top of the function body.
Here's an example of a server component with an inline server action for creating invoices:
export default function Page() {
  async function createInvoice(formData: FormData) {
    'use server'

    const rawFormData = {
      customerId: formData.get('customerId'),
      amount: formData.get('amount'),
      status: formData.get('status'),
    }

    // Mutate data (replace with your data mutation logic)
    // ...

    // Revalidate cache (replace with your cache invalidation logic)
    // ...
  }

  return (
    <form action={createInvoice}>
      {/* Form fields for customer ID, amount, and status */}
      <button type="submit">Create Invoice</button>
    </form>
  )
Client Components
Client components can only import actions that use the module-level "use server" directive.
To call a server action in a client component, create a new file and add the "use server" directive at the beginning. All functions within this file will be server actions, reusable across both client and server components.
Here's an example of a separate file containing a server action for updating a user:
'use server'

export async function updateUser(userId: string, formData: FormData) {
  // ... (replace with your data mutation logic for updating user)

  return {
    // Optional: return data or message for UI update
  }
}
This server action can then be imported and used in a client component's form:
import { updateUser } from './actions'

export function UserProfile({ userId }: { userId: string }) {
  const updateUserWithId = updateUser.bind(null, userId)

  return (
    <form action={updateUserWithId}>
      <input type="text" name="name" />
      <button type="submit">Update User Name</button>
    </form>
  )
}
When to Use
Here are some ideal use cases for server actions:
-
Form Submissions:
Server actions are well-suited for handling form submissions, allowing you to perform server-side validation, data mutation, and error handling.
-
Data Fetching:
They can be used to fetch data from external APIs or databases on the server-side, ensuring sensitive information like API keys are not exposed to the client.
-
Background Processes:
Server actions can trigger background processes that don't require immediate user interaction, such as sending emails or generating reports.
Real-Life Example
Let's explore a practical example of using server actions to send Slack notifications when a user performs a specific action within your Next.js application. This can be helpful for notifying your team about important events or user interactions. This is especially useful in early-stage startups where you might not have a database yet. You can first validate the concept with server actions and slack notifications, and then implement data storage if needed later.
Create an App in Slack
Create a Slack App
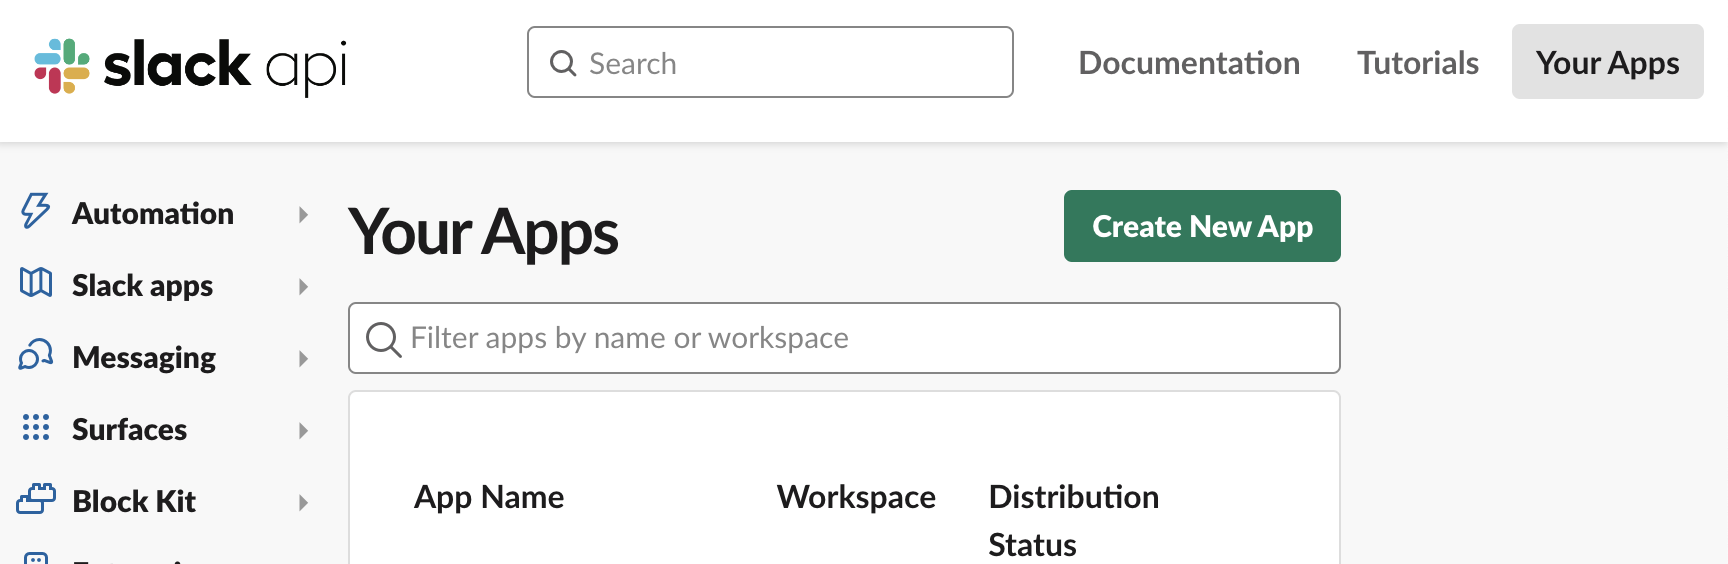
Visit Slack API and click Create New App.
Choose App Type

Select From Scratch and assign a name like "Slack Notifications" or something similar. Choose your target workspace.
Enable Incoming Webhooks
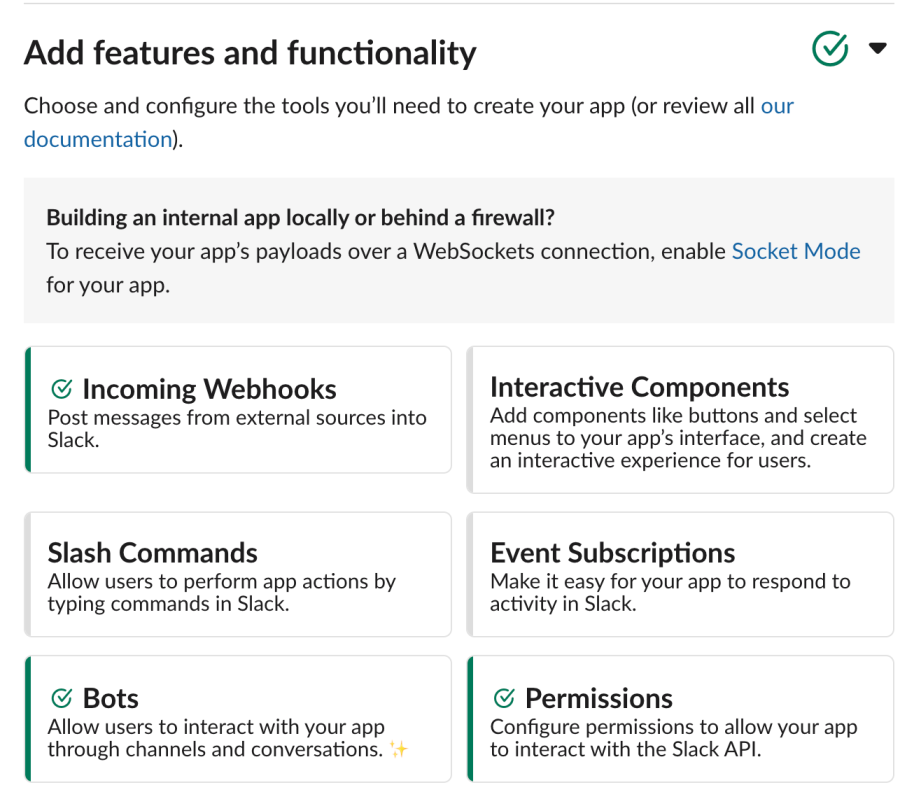
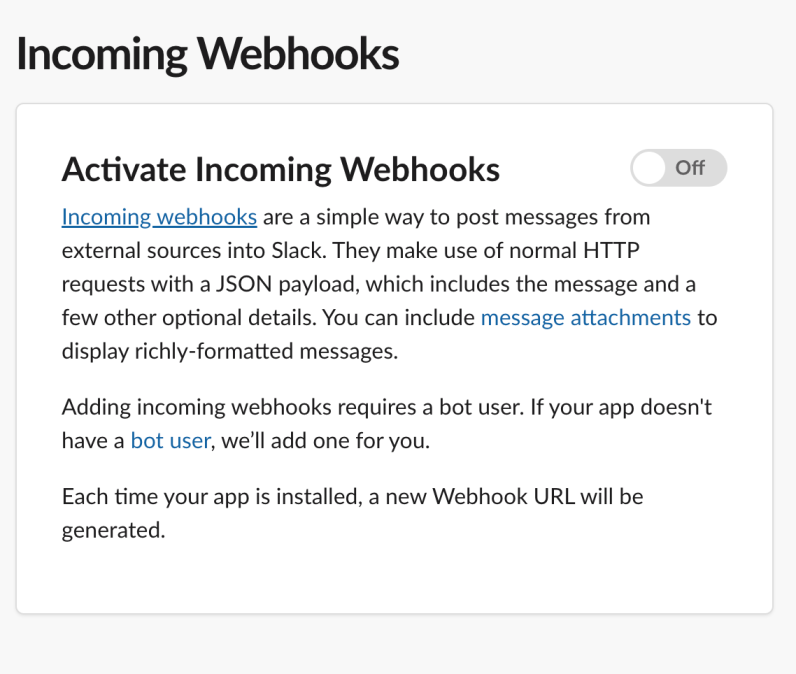
Go to Settings > Basic Information > Add features and functionality, then activate Incoming Webhooks to obtain a URL.
Install the App
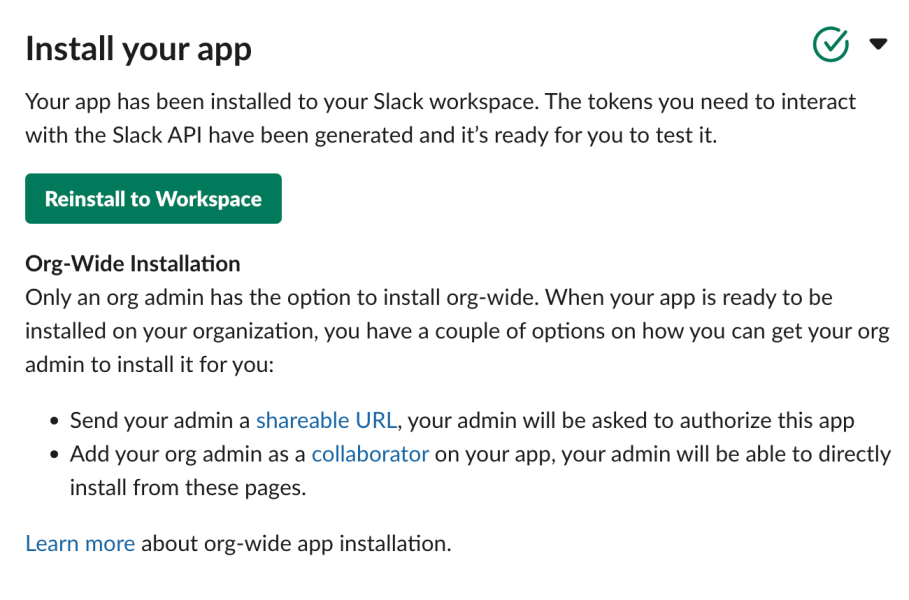
Navigate to Settings > Install App, and install the app in your workspace.
Customize Display Information
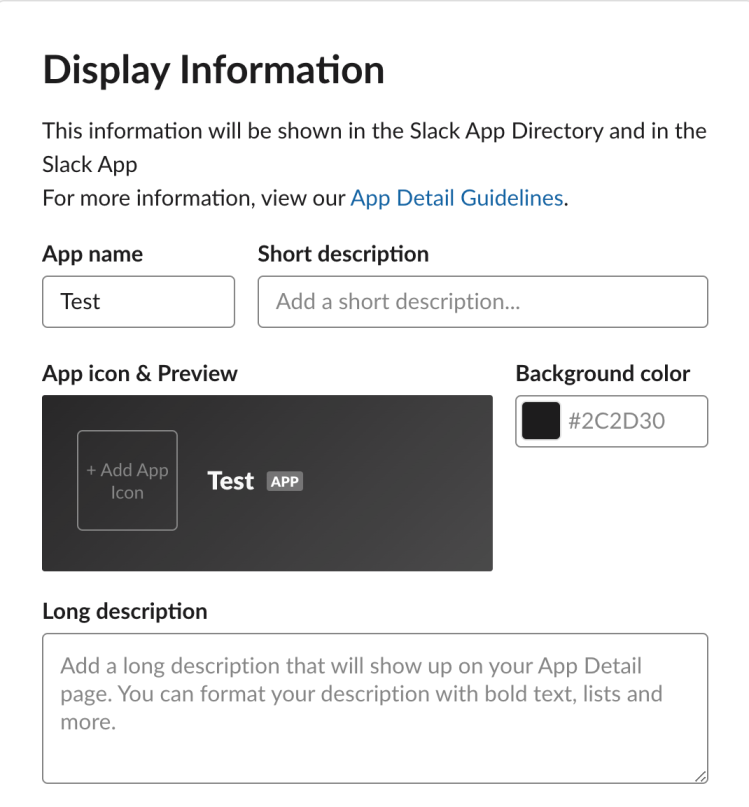
Adjust the display information that will show as the Slack bot.
Implementing Server-Side Slack Notifications
Once the Slack bot is set up, write code using server actions to send Slack notifications.
Install Slack Webhook Package
pnpm add @slack/webhook
or
yarn add @slack/webhook
or
npm i @slack/webhook --save
Server Action File
'use server'

import { IncomingWebhook } from '@slack/webhook';

export default async function sendSlackNotification({ name, message }: { name: string; message: string }) {
  try {
    // Only send notification in production environment
    if (process.env.NODE_ENV !== 'production') return;

    const messageBlock = {
      type: 'section',
      text: {
        type: 'mrkdwn',
        text: `* ${name}* \n ${message} `,
      },
    };

    const url = process.env.WEBHOOK_URL; // Replace with your Slack webhook URL
    const webhook = new IncomingWebhook(url);
    const payload = {
      blocks: [
        {
          type: 'divider',
        },
        messageBlock,
        {
          type: 'divider',
        },
      ],
    };

    await webhook.send(payload);

    return { success: true };
  } catch (error) {
    throw Error; // Re-throw the error for handling
  }
}
Page Component:
import { useState } from 'react';
import sendSlackNotification from './actions'; // Import the server action

interface INotification {
  name: string;
  message: string;
}

export default function Page() {
   const [formData, setFormData] = useState<INotification>({
    name: '',
    message: '',
  });
  const [isSubmitted, setIsSubmitted] = useState(false);

  const handleChange = (event: React.ChangeEvent<HTMLInputElement | HTMLTextAreaElement>) => {
    setFormData({
      ...formData,
      [event.target.name]: event.target.value,
    });
  };

  const handleSubmit = async (event: FormEvent<HTMLFormElement>) => {
    event.preventDefault();
    setIsSubmitted(true);

    try {
      const response = await sendSlackNotification(formData);
      // Handle successful submission
    } catch (error) {
      // Handle errors
    } finally {
      setIsSubmitted(false); // Reset loading state
    }
  };

  return (
    <>
      <form onSubmit={handleSubmit}>
        <label htmlFor="name">Name:</label>
        <input
          type="text"
          id="name"
          value={formData.name}
          onChange={handleChange}
          name="name"
        />
        <label htmlFor="message">Message:</label>
        <textarea id="message" value={formData.name} onChange={handleChange} name="message" />
        <button type="submit" disabled={isSubmitted}>
          {isSubmitted ? 'Sending...' : 'Send Notification'}
        </button>
      </form>
      {isSubmitted && <p>Sending notification...</p>}
    </>
  );
}
Wrapping Up
I hope that you found this post helpful.
If some info is outdated or incorrect, or you have anything to add, say or ask, please contact me via email.